Deploying OpenClaw on PlugMate achieves full data isolation, ensuring host data is protected from leakage and tampering for enhanced security. Portable and plug-and-play, it enables on-demand access to a personal AI assistant, allowing users to start and manage local AI services anytime, anywhere. It supports rapid deployment and instant recovery with one-click setup and second-level restoration from exceptions. Compatible with multiple host systems, it enables seamless cross-device switching and stable operation of OpenClaw.
We recommend upgrading PlugOS first.
Release of PlugOS 1.7.3 - Release news - PlugOS Community
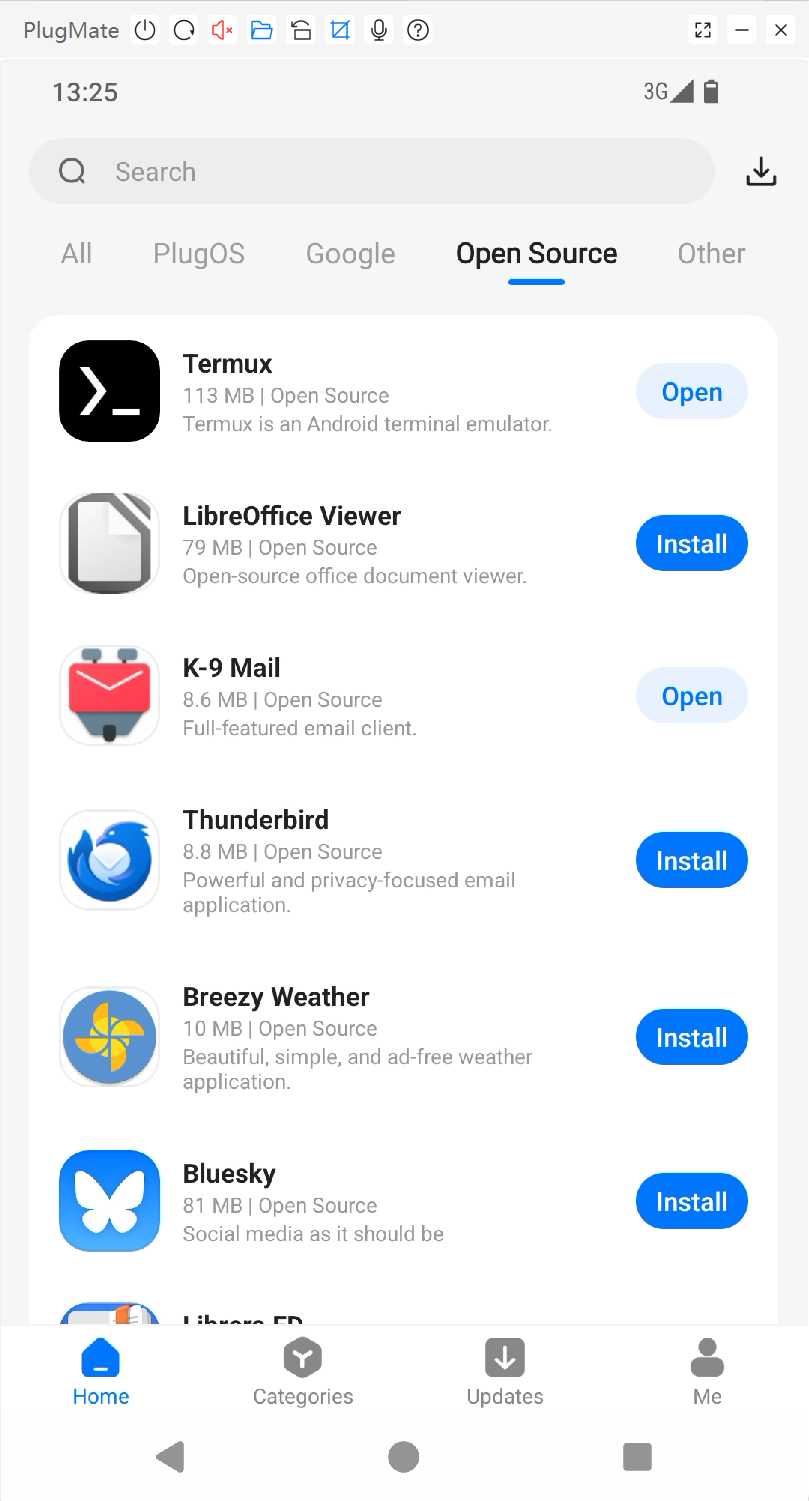
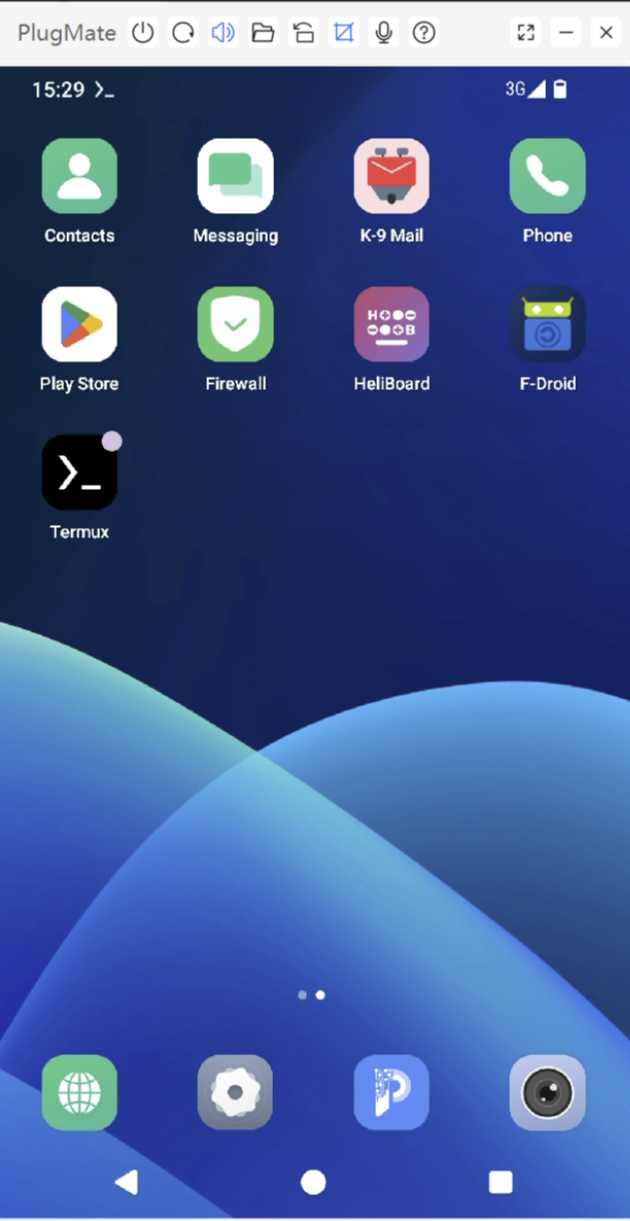
1、Install Termux via PlugOS Apps, and set the app’s battery usage to Unrestricted.
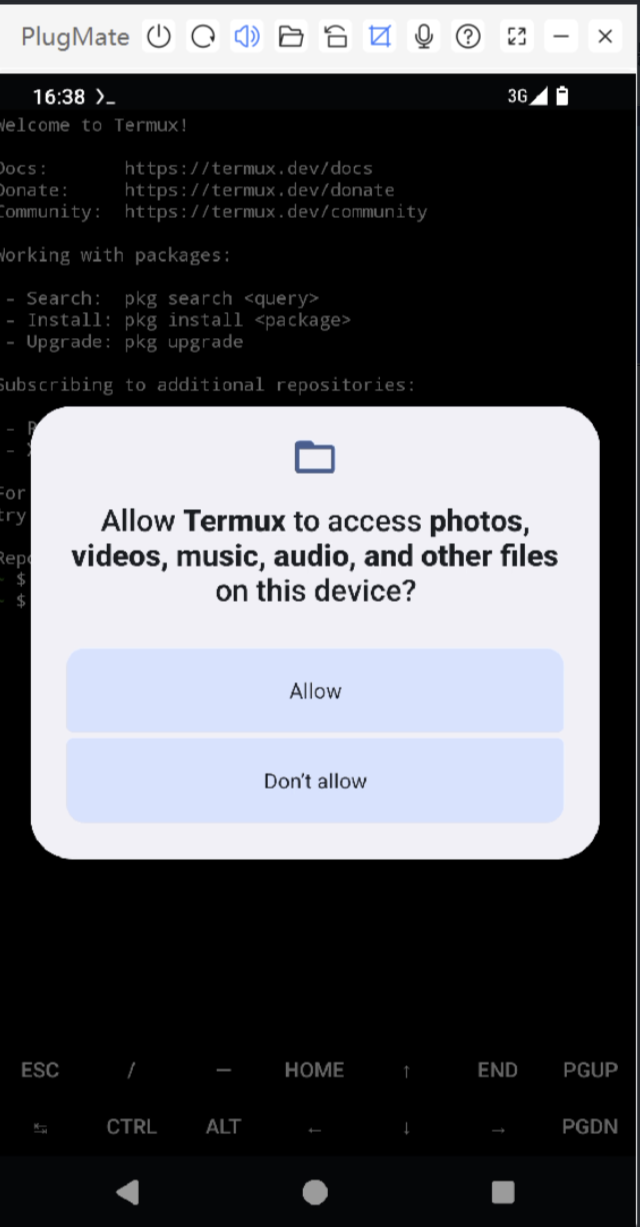
*Launch Termux and enter: termux-setup-storage.Grant access to your device storage by selecting ALLOW.
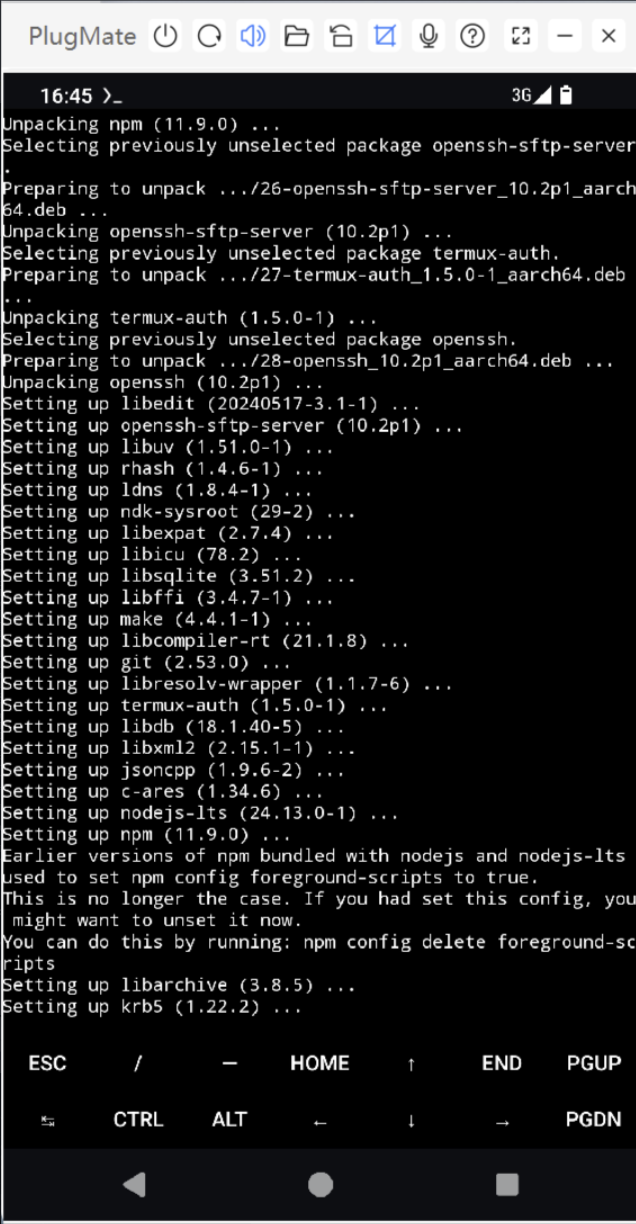
2、Install OpenClaw.
You can complete the quick installation with this command, then proceed with the configuration starting from Step 3.
curl -L https://bit.ly/4rB9iTi|bash
Or Step-by-Step Installation
Configure the Termux environment using the following commands:
echo “deb https://mirror.sunred.org/termux/termux-main stable main” >/data/data/com.termux/files/usr/etc/apt/sources.list
pkg install -y nodejs-lts git cmake make
npm install -g pnpm
pnpm setup
source /data/data/com.termux/files/home/.bashrc
Install openclaw using the following commands:
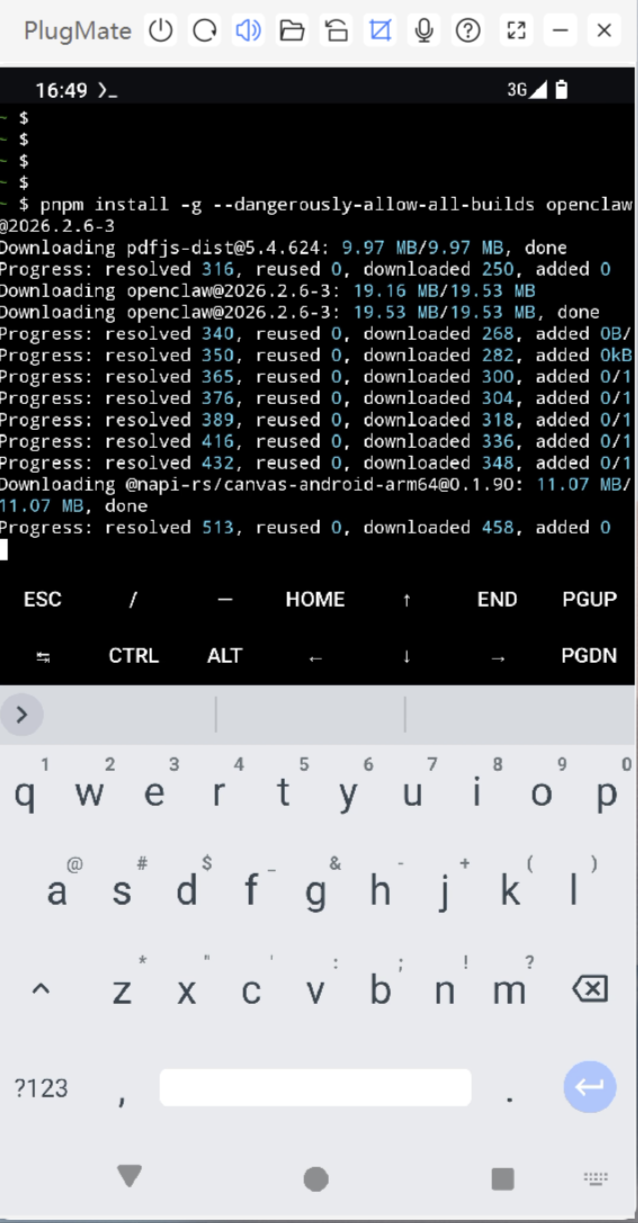
pnpm install -g --dangerously-allow-all-builds openclaw@2026.2.6-3
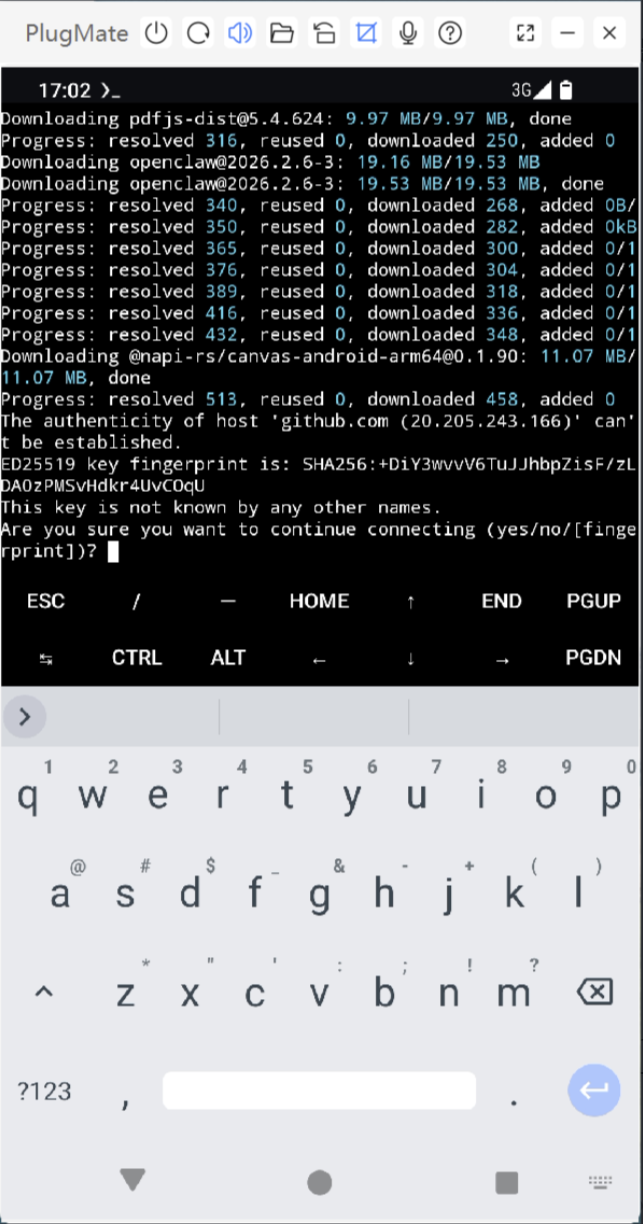
*If prompted:
The authenticity of host ‘github.com (20.205.243.166)’ can’t be established.
ED25519 key fingerprint is: SHA256:+DiY3wvvV6TuJJhbpZisF/zLDA0zPMSvHdkr4UvCOqU
This key is not known by any other names.
Are you sure you want to continue connecting (yes/no/[fingerprint])?
Input “yes” and Enter
Localization Fixes:
sed -i 's@const DEFAULT_LOG_DIR = "/tmp/openclaw";@const DEFAULT_LOG_DIR = process.env.HOME + "/.tmp/openclaw";@' '/data/data/com.termux/files/home/.local/share/pnpm/global/5/.pnpm/openclaw@2026.2.6-3_@napi-rs+canvas@0.1.90_@types+express@5.0.6_node-llama-cpp@3.15.1_signal-polyfill@0.2.2/node_modules/openclaw/dist/entry.js'
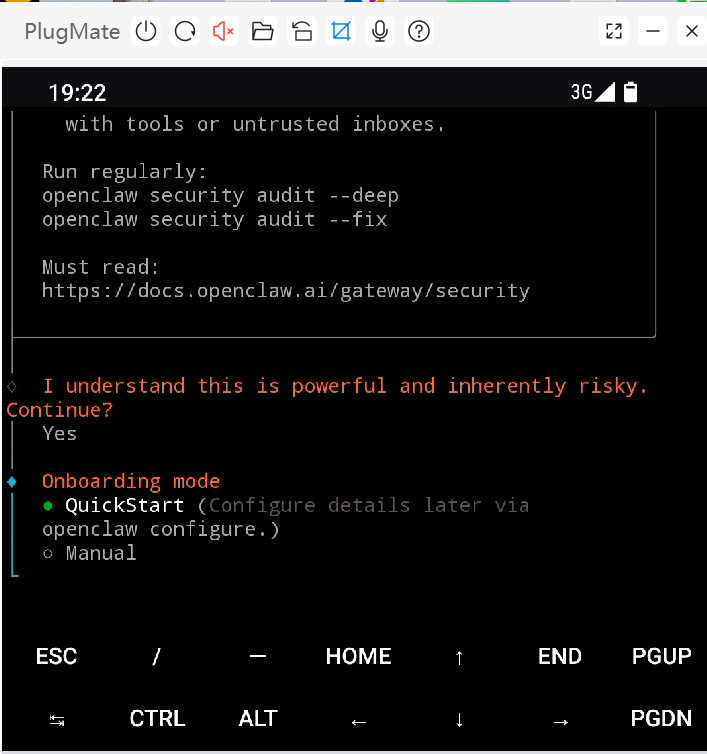
3、Onboard openclaw
Onboard openclaw using the following commands:
openclaw onboard
*Configure the options according to your needs (the manual method is recommended). For detailed configuration steps, please refer to the official OpenClaw tutorial.
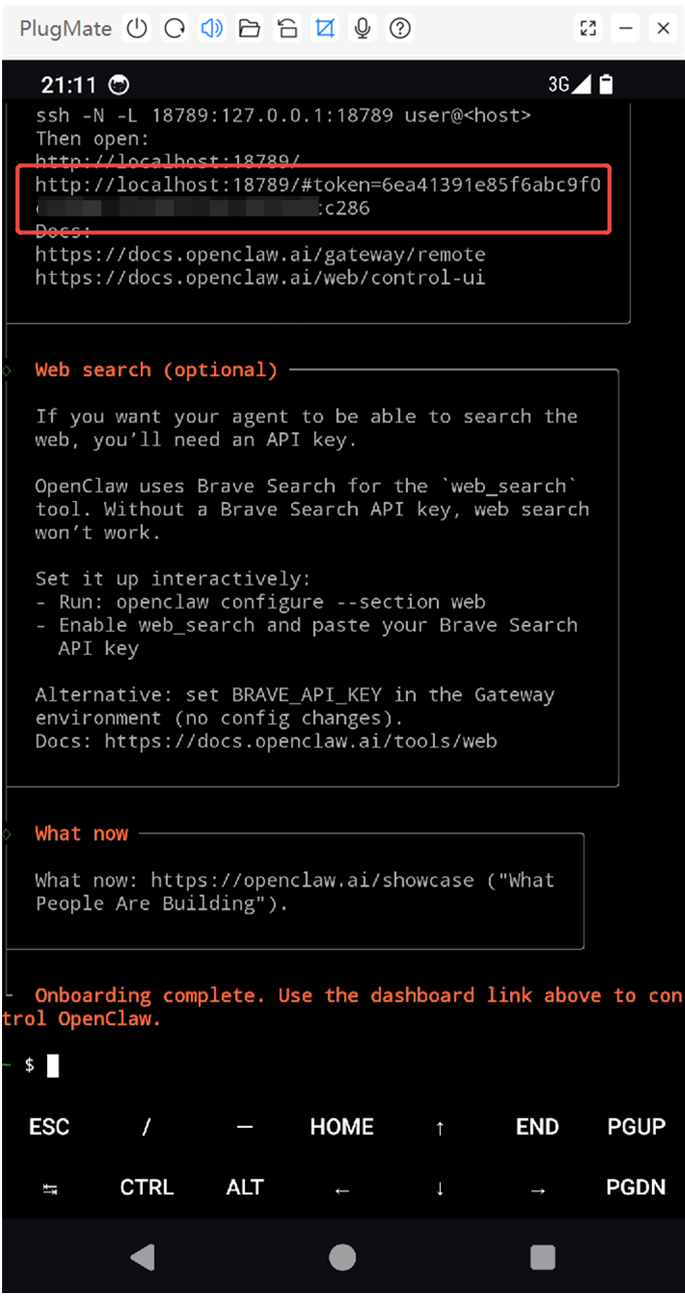
Wait for the prompt(Manual Onboarding mode):
Onboarding complete. Use the dashboard link above to control OpenClaw.
Copy the link (with token) shown in the Dashboard, then press Ctrl+C to finish the configuration.
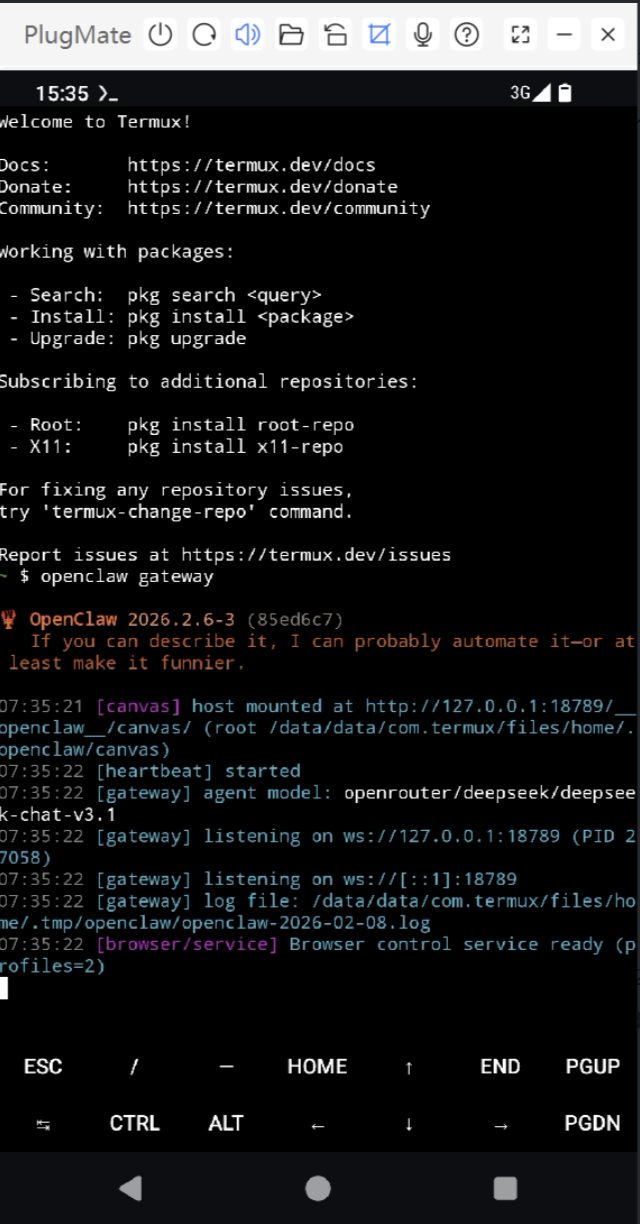
4、Runs openclaw gateway
Runs openclaw gateway using the following commands:
openclaw gateway
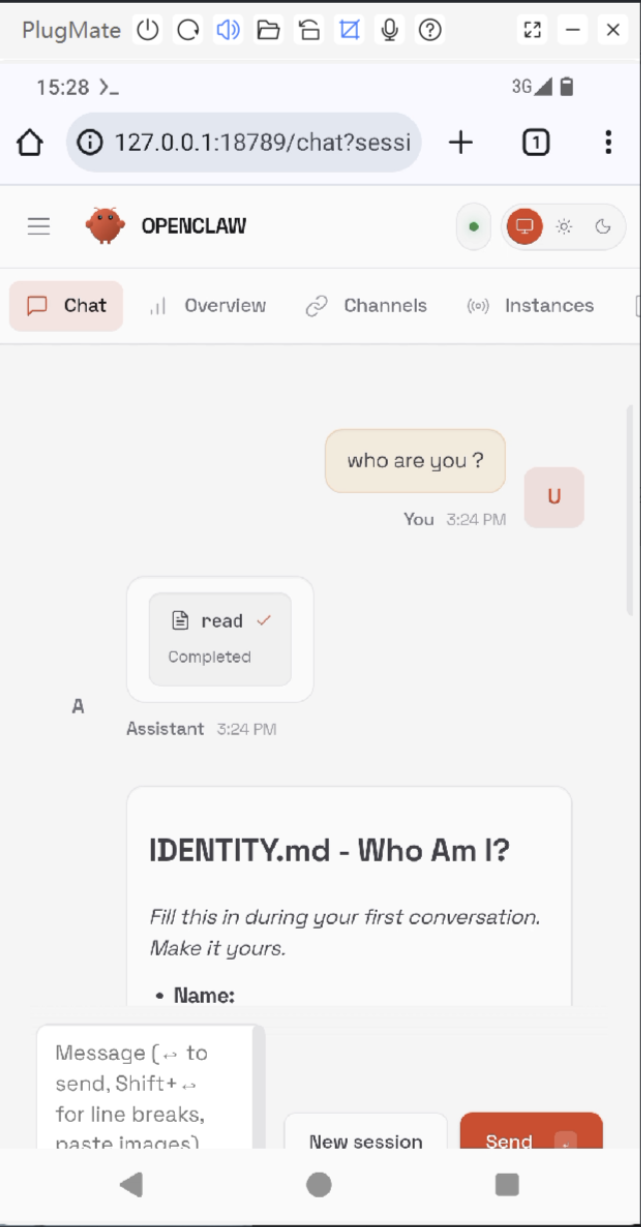
5、Use OpenClaw via Local Web Chat
Now you can use OpenClaw via Local Web Chat.
Open the Veil browser, enter the link in the address bar what you copied in Step 4.
*Configure and explore additional AI functionalities through the UI and OpenClaw commands. For more details, please refer to: https://github.com/openclaw/openclaw